
As you've probably heard, Azure Virtual Machines can be stopped when not in use in order to save subscription costs. My personal Azure VMs are stopped more than they're started because they're my personal sandbox/learning areas. I've set up Azure Automation to stop my VMs each evening so I don't have to rely on memory.
The technique I'm describing below is a little different than what Dustin Ryan blogged about - I've chosen to use a credential instead of a certificate since I've got Azure Active Directory running in my environment (though I do get plenty of notifications about unhealthy synchronization attempts since my VMs are off!). It does require an account to be a co-administrator in Azure; if you're uncomfortable with that, take a look at the certificate approach Dustin talks about.

1. AD User. First, set up a domain user in Active Directory. I chose to call mine AAutomation. Since its purpose is for Azure Automation, it doesn't need to be a member of any particular groups in AD; mine is just in the Users group. The user ID and password will be stored in an Azure Automation Credential (step 5 below), so handle your password expiration setup (or use of an MSA) as you see fit.
After it the sync runs between AD and AAD, you're ready for the next step.
2. PowerShell Script. Next we need a PowerShell script to perform the shutdown action. Create your script and store it in a .ps1 file for when we need it in a later step. Here's what my script looks like for shutting down four VMs. Note you can also use a "*" to shut down all VMs which would prevent future maintenance of the script. That would work for me, however, I am a co-administrator of another "real" environment in which we have certain VMs that stay up 24/7; therefore this example specifies which VMs should be shut down (one of those cases where I used my own sandbox to test prior to putting into the real environment). Also notice that this PowerShell script references the Azure Automation account we created in step 1.
workflow StopAzureVM {
    inlineScript {
        $Cred = Get-AutomationPSCredential -Name "AAutomation@YourDomainNameHere.com"

        Add-AzureAccount -Credential $Cred

        Select-AzureSubscription -SubscriptionName "SubscriptionNameHere"

        Stop-AzureVM -ServiceName "ResourceGroup1NameHere" -Name "VMName1Here" -Force
        Stop-AzureVM -ServiceName "ResourceGroup2NameHere" -Name "VMName2Here" -Force
        Stop-AzureVM -ServiceName "ResourceGroup3NameHere" -Name "VMName3Here" -Force
        Stop-AzureVM -ServiceName "ResourceGroup4NameHere" -Name "VMName4Here" -Force
    }
}
3. Azure Co-Administrator. Go to Settings in the Azure management portal. Add your new AAutomation account to be a co-administrator.

4. Azure Automation Account. Go to Automation in the Azure management portal. Create a new Automation Account. I called mine AAutomationAccount to coincide with the naming convention for the User AD account. It'll take just a few moments for it to be created.

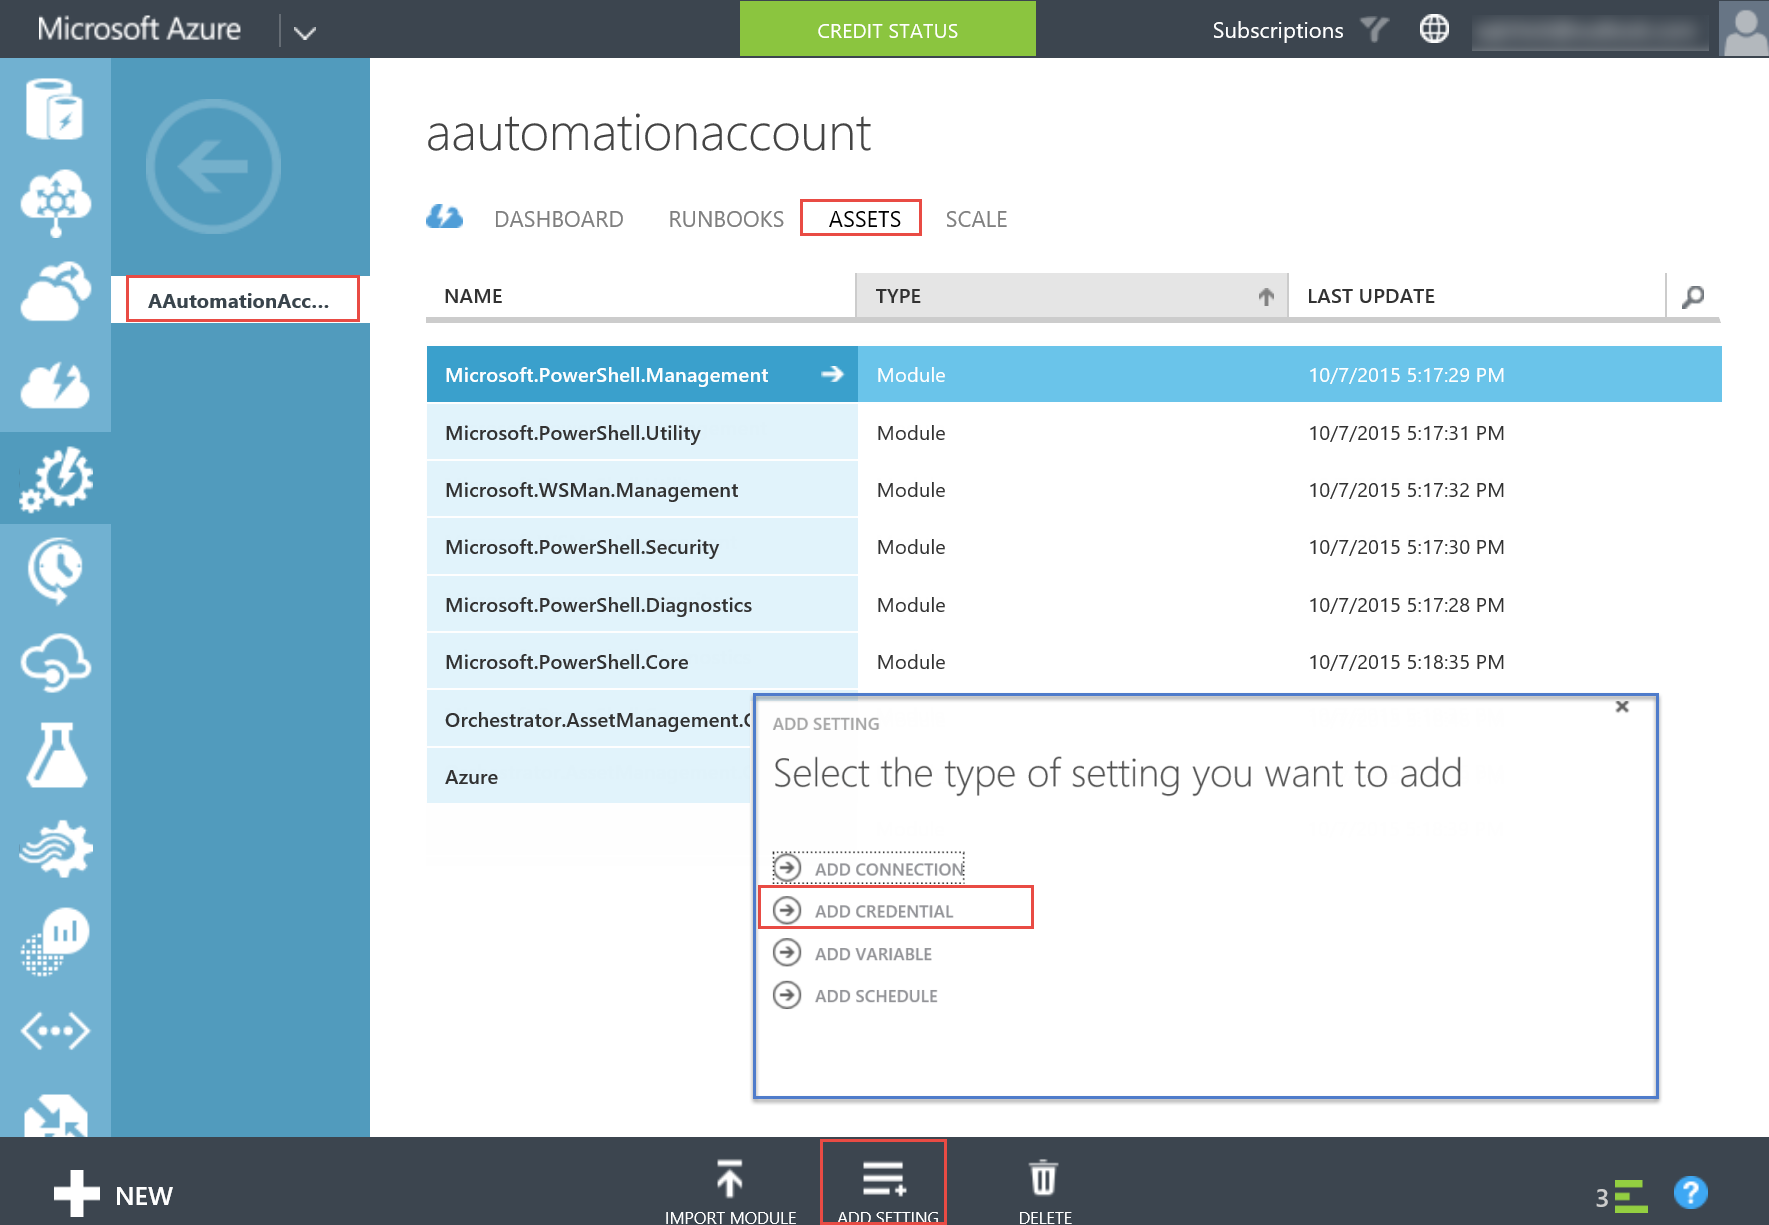
5. Automation Credential. Click the name of your new Automation Account to go into its properties. Go to the Assets page where you'll see some predefined items. Click Add Setting. Here's where you want to Add Credential. The type will be Windows PowerShell Credential (rather than a certificate). In this dialog box you will specify the user and password that were set up in step 1.

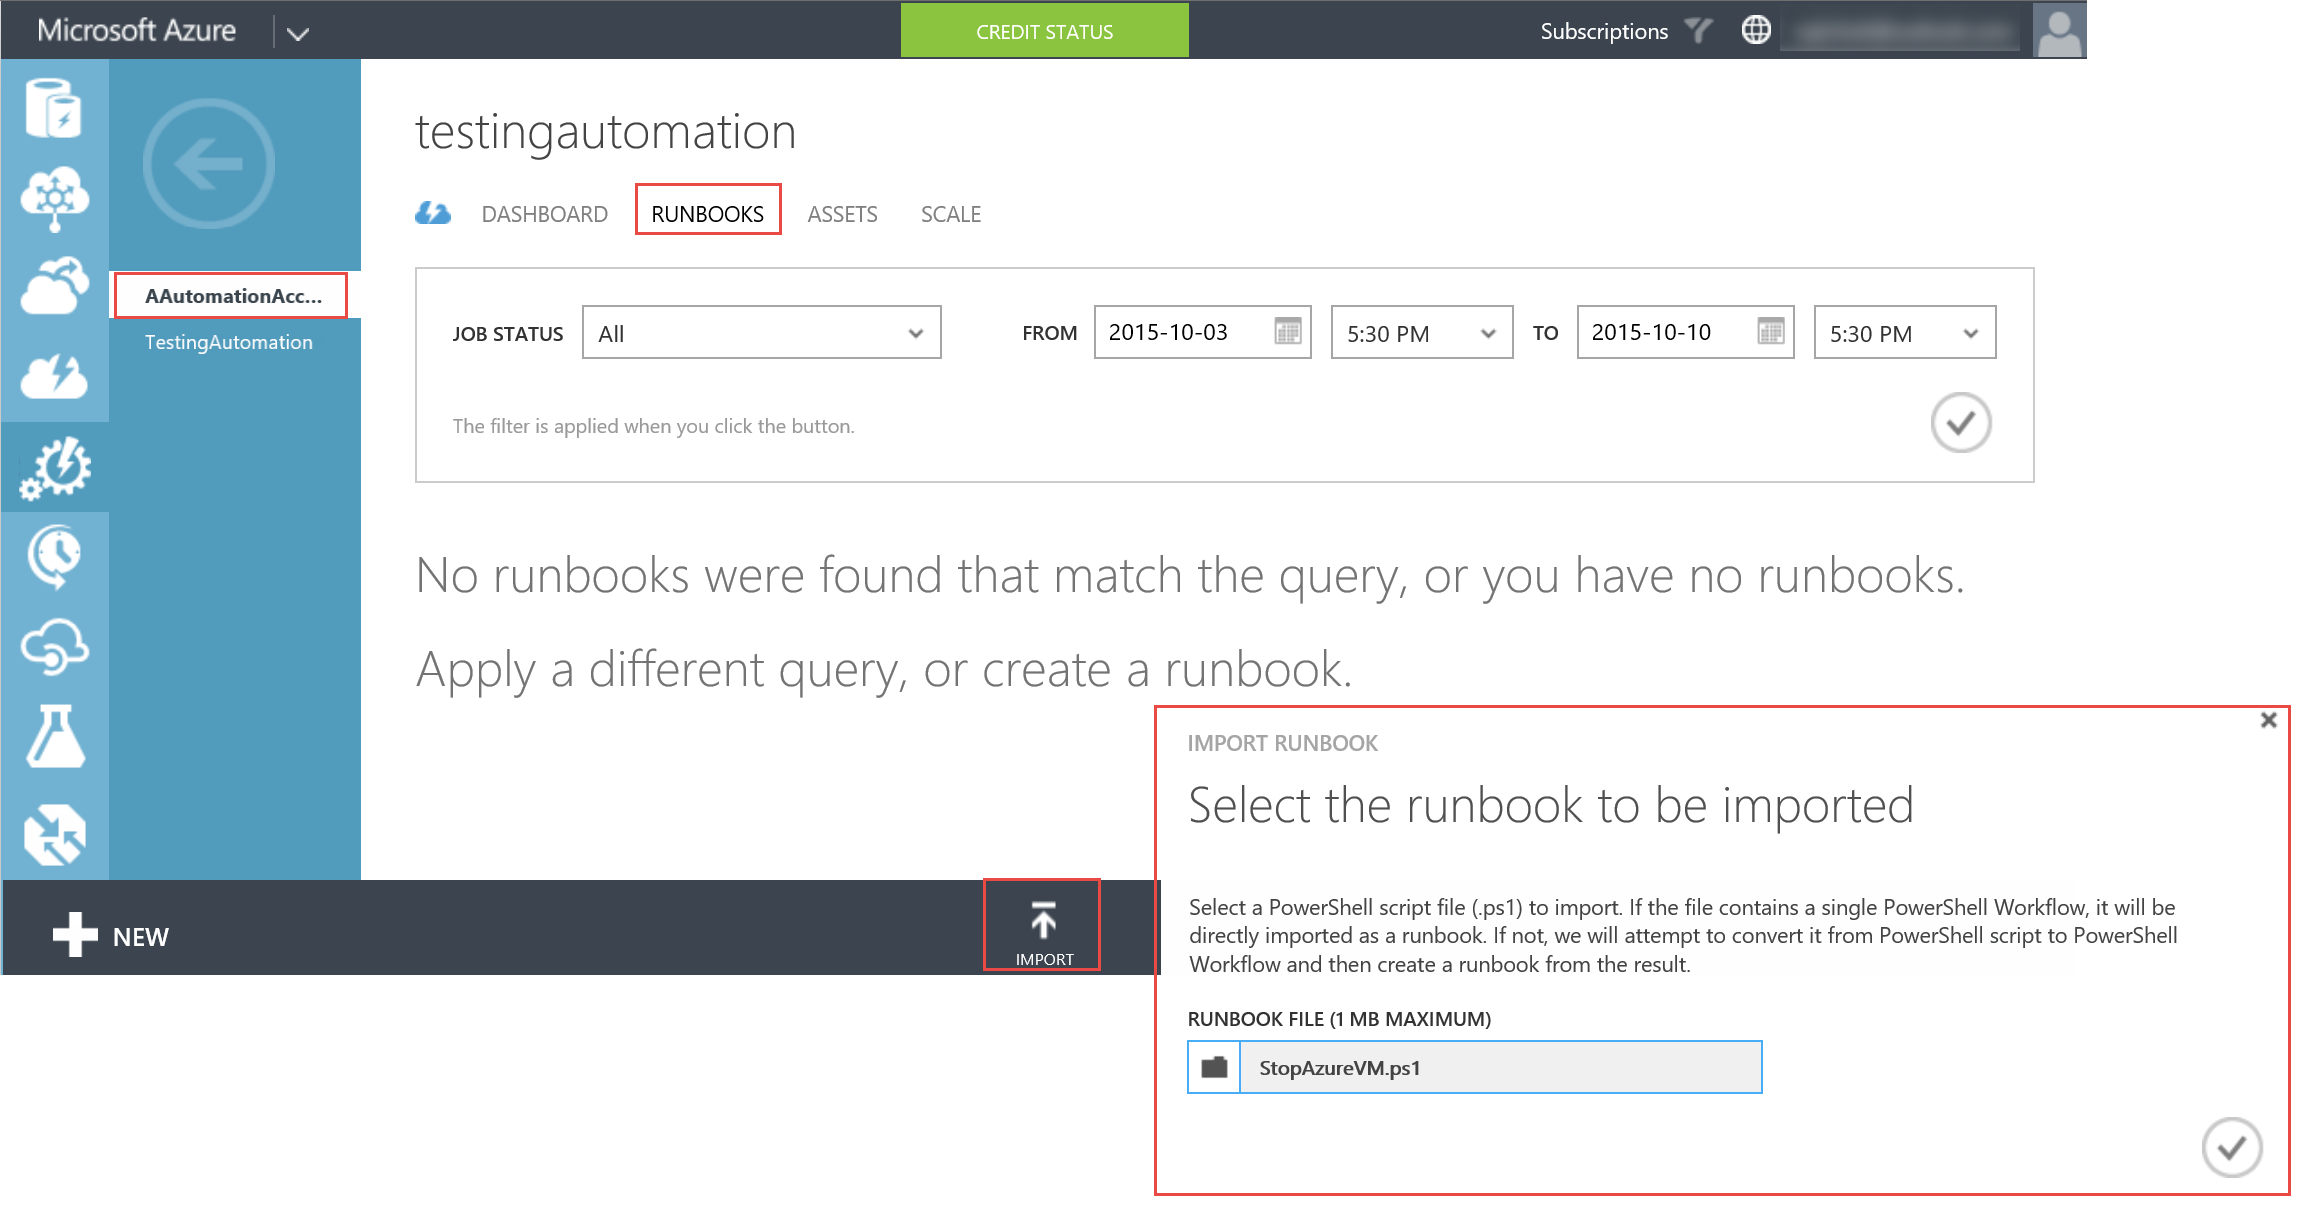
6. Import PowerShell Script. Go to the Runbooks page and choose Import. Here we want to import the PowerShell script created in step 1.
7. Publish Runbook. After the page refreshes, click the name of your Runbook to go into its properties. Go to the Author page. If Azure converted any of your syntax (i.e., to a workflow), you'll see some comments about that. Notice at this point that the script is in draft status. At this point you can test the script. When everything looks ok, Publish the script so that it can be scheduled.

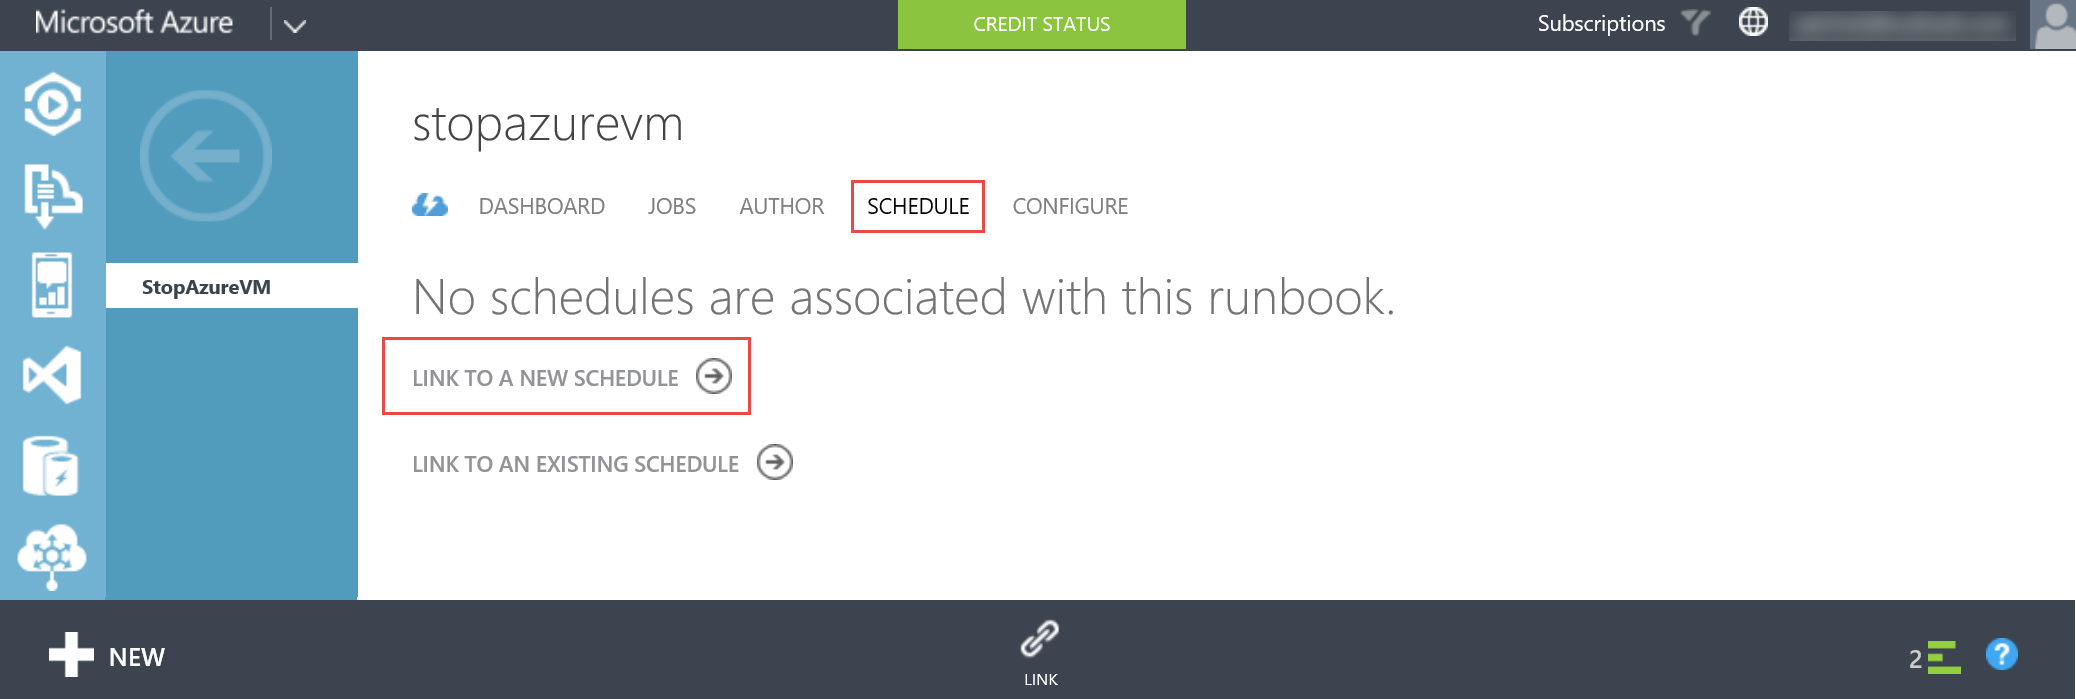
8. Set up Schedule. Go to the Schedule page and choose Link to a New Schedule (unless you have an existing schedule that is). Specify the timing that works for you. Once it's set up, you should see it on the Schedule page. You can also visit the Dashboard page for other information about the Automation job status.
That's it for the steps to schedule Azure VM(s) to shut down on a schedule.