Filtering in Power Query

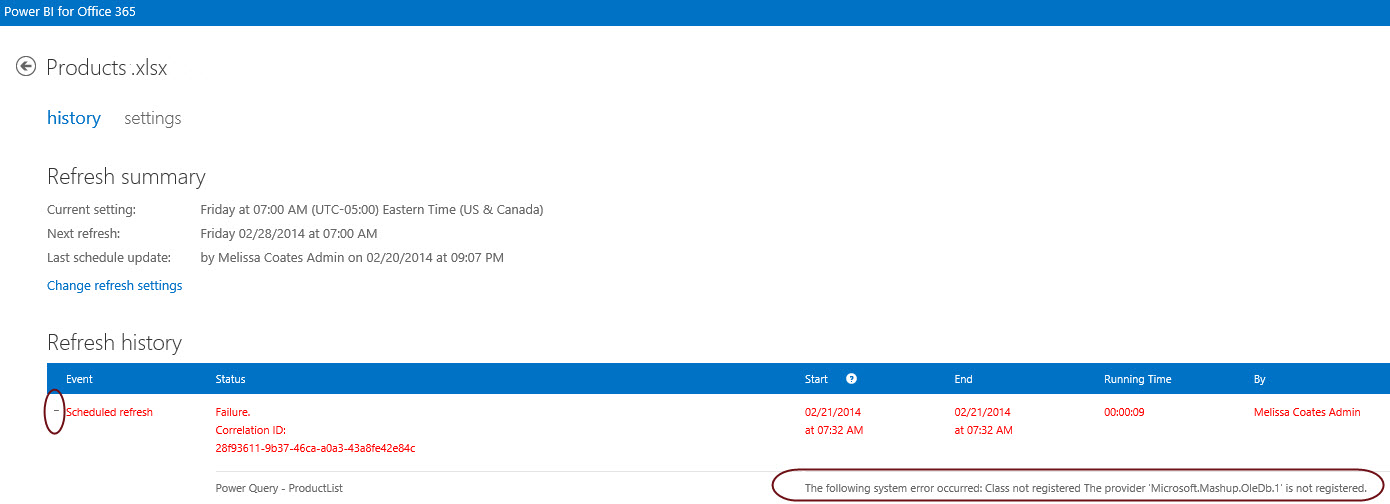
Last week I was teaching a Power BI Workshop. On the final day while attendees were building their own solutions, one participant named Linda says to me:  "Melissa, Power Pivot is missing some data."  We proceeded to trace back through her Power Query operations to determine where the data got eliminated.

She shows me the final Power Query and points to the column header and says "See, there's no filters here. So why didn't it end up in Power Pivot?"  Since this was a very interesting observation from a very bright gal, I thought I'd share it.

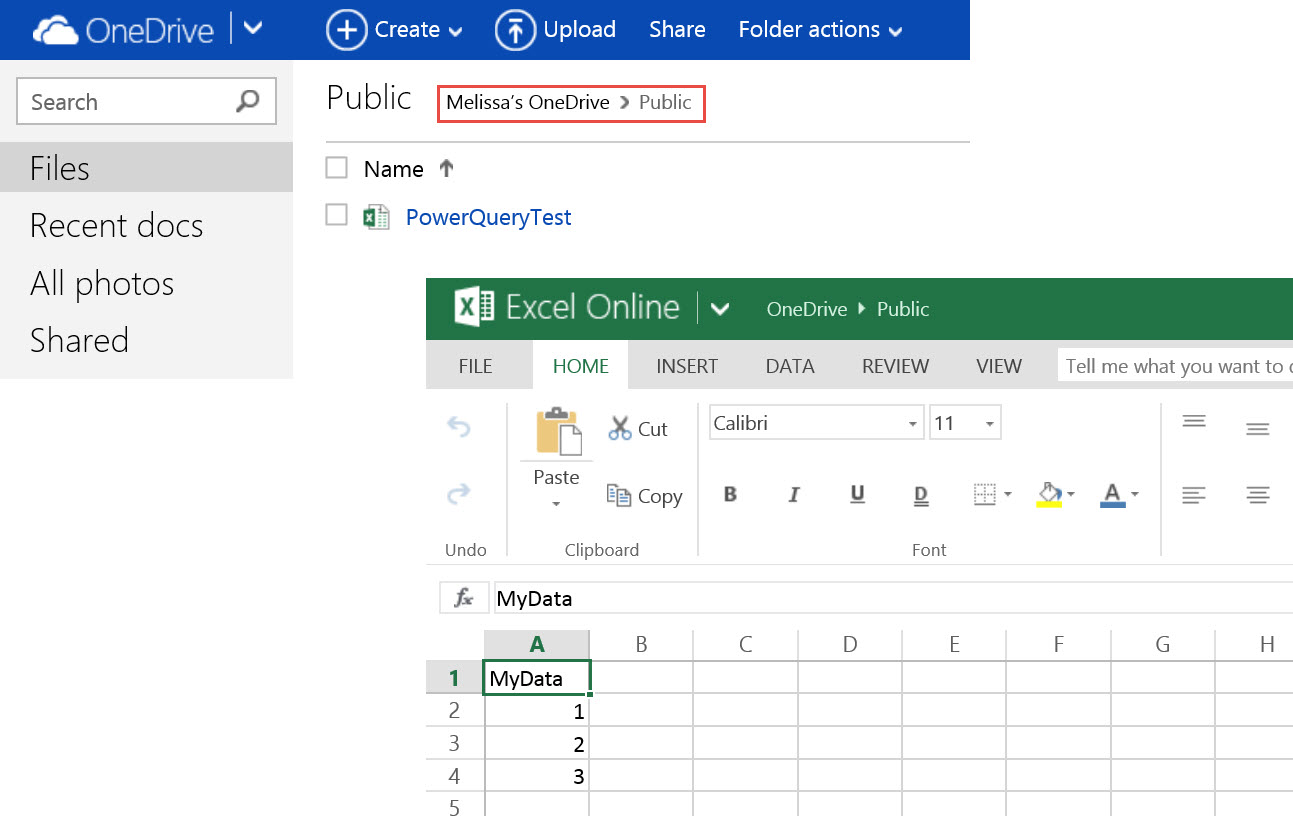
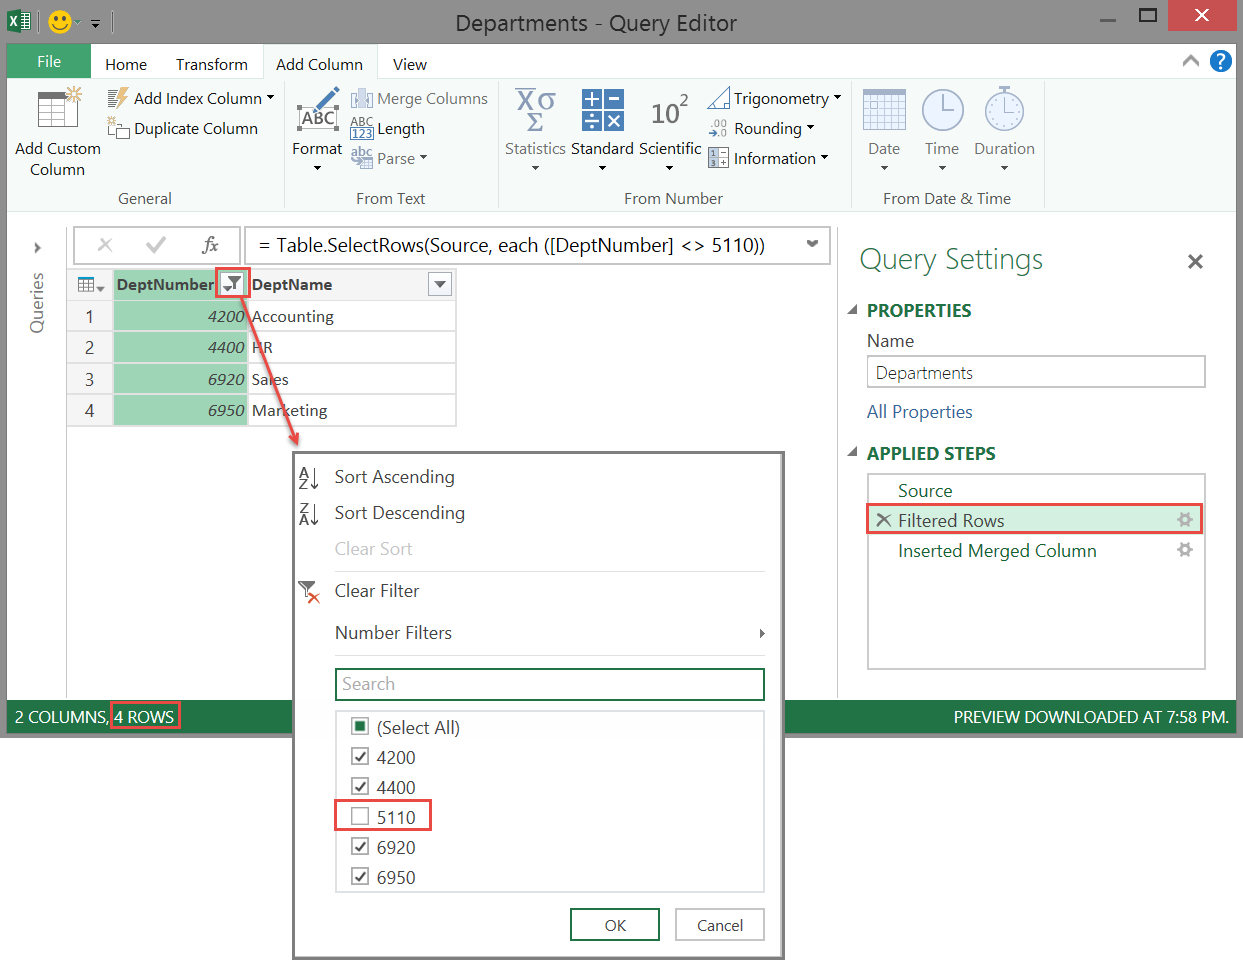
To illustrate, first let's set up a quick little list of Dept Numbers and Names in the first step of our Query Editor:

In the second step, let's add a filter to remove one Dept Number. 

In our third step after the filter, let's do something. Anything. For grins I merged two columns to produce a concatenated column of Dept Name - Number. Really though, this third step only exists to prove a point that there is no longer an indication in the column header that a filter occurred on this column in a previous step:

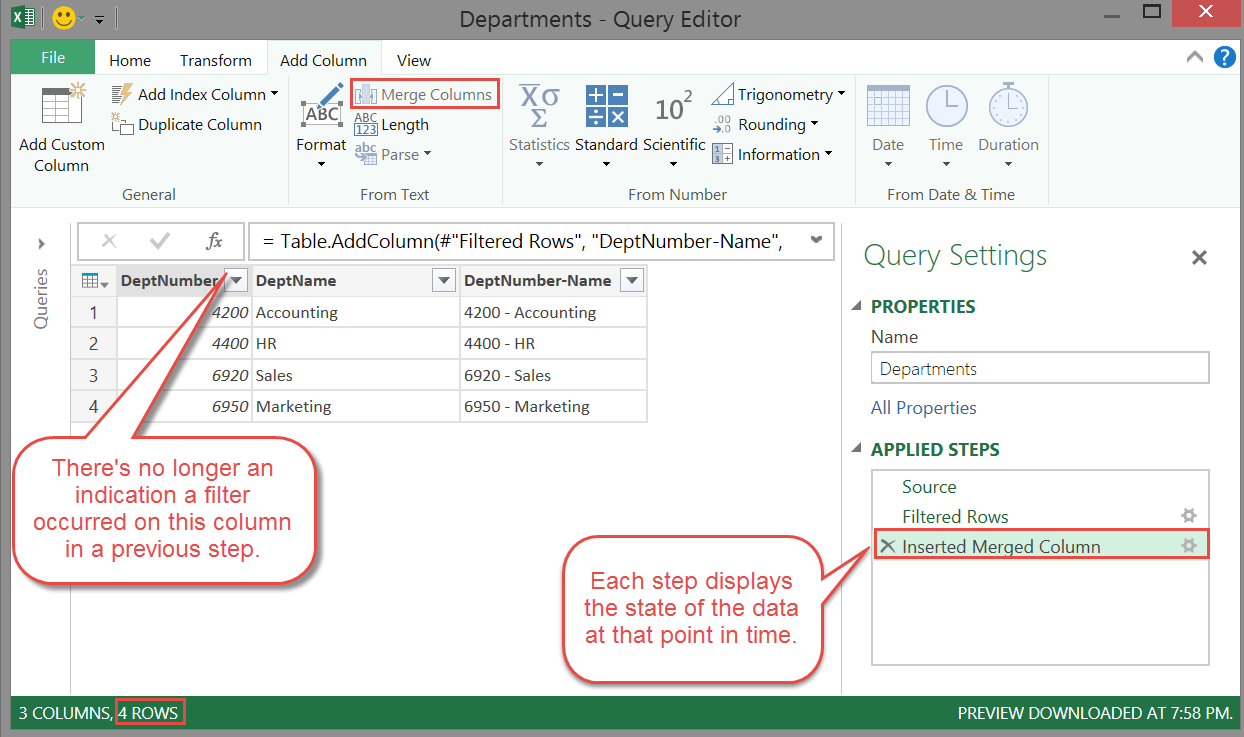
I often say that each step in the Query Editor displays the state of the data at that point in time. Since the filter occurred on a previous step, the rows filtered out are now really gone in the next step - the state of the data changed. This is why there's no longer an indication a filter occurred in a previous step. Power Query behavior isn't like Excel where the rows are still there just hidden; rather, the rows are truly filtered out and won't progress further along in the steps or into Power Pivot.

So, having said all that, the two main takeaways are:

  • Filters in Power Query aren't controlling what you see on the screen; they truly exclude the data from progressing any farther.
  • There's not a visual indication in Power Query on steps after a filter operation has occurred, so keep an eye out for that if you are doing some data exploration as you build your steps.

Using Power Query to Get Data From an Excel File in OneDrive Via URL

In this blog entry I'm going to discuss accessing an Excel file that's stored in OneDrive. What I do *not* want to do is associate the files to my local file path such as c:\users\melissa\onedrive... because another person who downloads the workbook and wants to edit or look at the Power Query settings will get an error. So I want to use the URL for OneDrive to make it easier to pass this workbook among other people. This took a bit of trial and error to find the right URL that would work with Power Query.

Storing the Source File in OneDrive

The first thing we want to do is get a file in OneDrive and make sure it's shared. For this purpose I'm just using a little simple file called PowerQueryTest, directly in my Public OneDrive folder. However, this same logic can be applied to a file shared with a set of coworkers.

Getting a Link for the Source File

If you click the Excel file to view or edit it in the browser, the URL looks like this:

Power Query doesn't like that URL. So, the next thing you might think to try is to generating a link with the Share feature. For my file, that URL looks like:

The 2nd URL is a little different from the first one, but the resid that identifies the report is the same so that's good. But, the above format still won't work in Power Query.

What I've found that will work with Power Query is this kind of URL structure:  


Basically, it's https://onedrive.live.com/download?&resid= followed by the unique report # which you can obtain from the URL as you view or edit a report in the browser.

Using the URL in Power Query

Even though we're going after contents of an Excel File, we want to use the From Web  menu item on the Power Query ribbon (instead of From File). Paste in the URL in the correct format mentioned just above.

In the Navigator menu on the right pane, select the sheet and then Edit.


Now you can carry on with whatever steps you need for your file. For my teensy little set of sample data here, I told it to "Use First Row as Headers" and then gave it a name and description in the query properties.

Credentials to Access to One Drive from Power Query

Now, the next thing you need to know is what will happen when the next person opens this workbook and wants to edit or even just look at how the Power Query steps. So, for this last series of screen shots, we are seeing it from the perspective of person #2 who just opened the file.

The first thing person #2 sees is the normal security warning. It's ok to click Enable Content since it's been shared by our trusty coworker. 

When we hover over the query name in the Workbook Queries pane, we see a warning in the popup box.  Permission Error: Credentials are required to connect to the Web source.  That makes sense, even though this was a file I had in the public share - Power Query just doesn't know it yet.  

Go ahead and click Edit.

Then choose Edit Credentials.

Lastly, select Anonymous access.  For me, the first radio button worked perfectly.

You might want to let your coworkers know to go ahead and choose anonymous credentials if they see the warning and want to edit, view, or refresh Power Query. (Of course, if it's not anonymous then let them know which organizational account to sign in with instead.)

Power Query Saved Data Source Settings

On the Power Query ribbon, there's a Data Source Settings item in the Machine Settings section. After person #2 set their credentials in the previous step, their machine now stores this setting for OneDrive.

That's it! Found a different way? Leave a note in the comments.

As always, Power BI is constantly evolving and changing. This information is correct as of Aug. 2014.

You Might Also Like...

Power Query Data - Should It Be Loaded to the Worksheet?

Top 2 Features of Power Query

Power Query is one of the 4 add-ins for Excel which integrate with Power BI for Office 365. I'd like to share what I see are the 2 biggest features of Power Query.

Repeatable Steps

PowerQuery_Steps.jpg

We've heard lots of times that cleaning up data to get it in the correct format can take many hours, and sometimes this work has to be done routinely such as every month. Here's the perfect situation where Power Query can help.

Each step you perform to change the data in some aspect is shown in the "Applied Steps" pane. If you click on each step, you can actually see the state of the data before and after each step was applied.

What makes this ultra cool? The fact that these steps are repeatable the next time you need to go through the same exercise. This is similar to the idea of an Excel macro, but much easier to use.

To me, the time savings and efficiency of repeating steps to cleanse and restructure data is *the* biggest benefit of Power Query.

Shared Queries

One of the inherent downsides to asking business users to publish their own datasets and reports is that the quality and integrity of the data can be questionable depending upon knowledge of the person preparing the data and how thoroughly it's been verified. There's also an increased chance of duplicating work that's already been done by someone else which isn't efficient.  Here's where sharing Power Queries comes in.

PowerQuery_Share.jpg

If you have a Power BI license, and you are signed in to Power BI from within Excel, you can share a Power Query (once it's complete & validated of course).

When you share a Power Query, the name and description become all searchable.  You can also specify who to share the query with - this would usually include other people, but you could just specify yourself if that makes the most sense.  And, you can even specify a URL with more information about the query (which is a truly excellent feature that I fear will be underutilized).

After it's been shared, you and other users can discover this query when using the Online Search functionality in Power Query. You would search for "Organization" data to discover a shared Power Query.

PowerQuery_OrganizationDataSearch.jpg

When you are logged into the Power BI for O365 app (via a web browser), if you click on "My Power BI" at the top right you will be able to view how often your shared queries show up in search + how often your queries are selected for use and by whom. 

What's really great about sharing Power Queries is the underlying logic is done just once and repeated potentially over and over - and you have visibility into who else is using your shared queries - now that takes things to the next level. 

You Might Also Like...

Power Query Data - Should It Be Loaded to Worksheet?

Overview of Power BI Features End-to-End

Power BI Error - Provider Microsoft.Mashup.OleDb.1 is not registered

In Power BI for Office 365, you can schedule the data in the Excel data model (Power Pivot) to be refreshed daily or weekly. This is one of the additional pieces of functionality available when the Excel workbook has been uploaded to your Power BI App in Office 365.

However, as of this writing (February 2014), scheduled data refresh for data loaded to Power Pivot via Power Query is not yet supported. It will be supported - it just didn't make it in time for the initial release.

If you see an error such as this...

The following system error occurred: Class not registered. The provider 'Microsoft Mashup.OleDb.1' is not registered.

...that tells you that Power Query is present in the Excel file and so data refresh cannot yet be scheduled.

PowerQueryDataRefreshError.jpg

More information about which data sources can be refreshed automatically can be found here:

Scheduled data refresh for workbooks in Power BI for Office 365